
Understanding Dress Shirt Size Labels
Dress shirt size labels combine neck, sleeve, and chest dimensions. The first number indicates collar size in inches, the second the sleeve length. Some brands add a third number for chest width. Knowing these helps match your body and desired fit. This system ensures a precise fit for any occasion. Perfect fit.
Neck, Sleeve, and Chest Measurements Explained
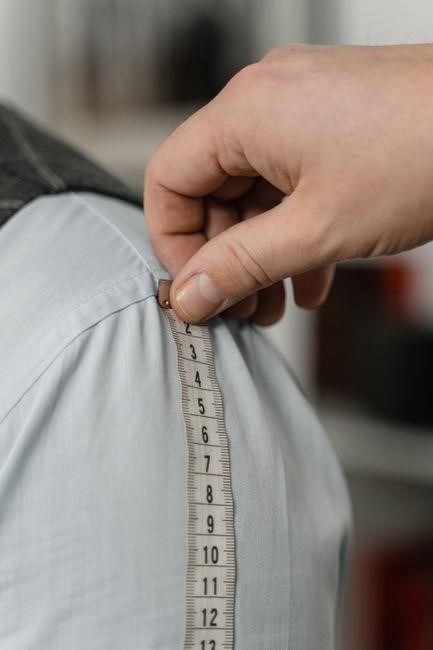
When selecting a dress shirt, the three core measurements—neck, sleeve, and chest—determine fit and comfort. The neck size is the circumference around the base of your throat, measured in inches or centimeters. It is the first number on most size tags, and it must accommodate a collar that sits snugly without pinching. Sleeve length is measured from the center of the back of the neck, across the shoulder seam, to the wrist crease. It is the second number on the tag and ensures sleeves reach the desired length for a polished look. Chest width is the horizontal span across the fullest part of the torso, usually measured at the widest point between the shoulder blades. Some brands list chest as a third number or use a letter grade (S, M, L) to indicate overall body breadth. Accurate measurement of each dimension is essential; a neck that is too small can cause discomfort, a sleeve that is too long may look sloppy, and a chest that is too tight can restrict movement. Use a flexible tape measure, stand upright, and follow a standardized measuring guide to capture true body dimensions. Once you have your numbers, compare them against the manufacturer’s size chart to find the best match for your style and fit preference. Properly matching neck, sleeve, and chest ensures a shirt that feels as good as it looks.
Remember to double‑check measurements before ordering, as slight variations can affect overall fit. Fit matters. Check!

Key Body Measurements for Accurate Sizing
Measure your neck, chest, and sleeve accurately. Wrap a tape around the base of your throat for neck, across the widest chest point for chest, and from the collar back through the shoulder to the wrist for sleeve. Record each in inches or cm to match charts. Ensure consistency by measuring twice and noting variations
To find the right shirt, start by measuring your neck. Stand straight, relax shoulders, and place a flexible tape just below the Adam’s apple, where the collar sits. Wrap the tape around the base of your throat, note the measurement in inches or centimeters. Next, measure your chest. Stand with arms relaxed, place the tape across the fullest part of your chest, just under the armpits, and pull it snug but not tight. Record the width from one side to the other. For sleeve length, begin at the shoulder seam. Measure from the center back of your neck, across the shoulder, down the arm to the wrist bone. Keep the tape level and relaxed. Finally, measure your waist if the shirt has a tailored fit. Wrap the tape around the natural waistline, just above the belly button, and take the reading. Use these four measurements—neck, chest, sleeve, and waist—to compare against the brand’s size chart, ensuring the shirt’s fit aligns with your body proportions and desired style. Keep the tape level and avoid pulling it too tight; a slight slack allows for natural movement. For the chest, measure from one side of the rib cage to the other, ensuring the tape stays parallel to the floor. After recording all numbers, cross‑reference them with the manufacturer’s chart. Most charts list neck and sleeve as primary dimensions, with chest or waist as secondary. If the chart lists only neck and sleeve, use your chest measurement to decide between standard or slim fits. By following these steps, you’ll confidently select a shirt that fits comfortably and looks sharp. Fit is key.

Standard Size Charts and Conversions
Standard charts list neck and sleeve in inches, with EU and UK equivalents. A 15×32 shirt equals 38×81 cm. Convert by multiplying inches by 2.54. Use the chart to match your neck, sleeve, and chest, ensuring a proper fit across regions. Add 1.5 inches to chest for a relaxed fit. Check sleeve length for movement!
US, UK, EU, and International Size Mappings
When shopping for a men’s dress shirt, converting between US, UK, EU, and other international sizing systems is essential. The US system uses a numeric collar size (e.g., 15, 15.5, 16) followed by sleeve length in inches (e.g., 32, 33). UK sizing typically mirrors the US but adds a half‑inch increment for collars (e.g., 15.5 UK = 15.5 US). EU sizes are expressed in centimeters for collar width; a 15‑inch US collar equals 38 cm, 15.5 US equals 39 cm, and 16 US equals 40 cm. For sleeve length, a 32‑inch US sleeve is roughly 81 cm, 33 inches is about 84 cm, and 34 inches is around 86 cm. Some brands use a single numeric value for chest width (e.g., 38, 40, 42) which can be matched to EU chest measurements: 38 US chest ≈ 96 cm, 40 US chest ≈ 101 cm, 42 US chest ≈ 106 cm. Internationally, the UK “S” or “M” labels often correspond to US 15–15.5 collar and 32–33 sleeve, while EU “M” typically matches a 15.5 collar and 32 sleeve. Always cross‑check the manufacturer’s chart because sleeve length can vary by cut (regular vs slim). For a precise fit, measure your neck, chest, and sleeve, then locate the matching row in the chart. If your chest is 40 inches, choose a shirt with a 40‑inch chest width; if your sleeve is 33 inches, select a 33‑inch sleeve. This systematic approach ensures you select a shirt that aligns with your body dimensions and the brand’s sizing conventions, minimizing returns and maximizing comfort. Remember, sizing can vary slightly between brands, so always check the specific brand’s chart and consider a half‑inch adjustment for a tailored fit and style.!!?

Fit Types and Their Impact on Size Selection
Fit type dictates shirt dimensions. Regular offers classic ease; slim tightens chest and waist; classic is relaxed. Choosing the right fit changes required neck, sleeve, and chest measurements. A slim fit may need a larger chest size for comfort Fit type. Fit
Regular, Slim, and Classic Fits Explained
Choosing the right fit is crucial for comfort and style. Regular fit shirts offer a traditional, relaxed silhouette with ample room at the chest, waist, and sleeves. They are ideal for those who prefer a classic look or have a broader frame. Slim fit shirts cut closer to the body, narrowing the chest and waist while keeping sleeves slightly tapered. This style accentuates a lean physique and is popular in contemporary wardrobes. Classic fit, sometimes called “regular‑cut,” sits between the two extremes: it provides a moderate amount of ease, especially at the shoulders and chest, while maintaining a streamlined appearance. When selecting a size, consider how each fit interacts with your measurements. A slim fit may require a larger chest dimension to avoid tightness, whereas a regular fit can accommodate a broader range of body types. Classic fit offers a middle ground, balancing comfort, confidence, and overall presentation. Proper fit enhances posture, confidence, and overall presentation. When shopping online, always refer to the brand’s specific size chart, as measurements can shift slightly between manufacturers. Pay special attention to sleeve length; a common mistake is buying a shirt with a sleeve that is too short, causing the cuff to sit above the wrist. Additionally, consider the collar style—point, spread, or button‑down—as it can affect neck sizing. If you fall between sizes, many retailers offer a “half‑size” option or recommend alteration. Try the shirt on in front of a mirror to ensure shoulders align now!
Size Selection for Different Collar Styles
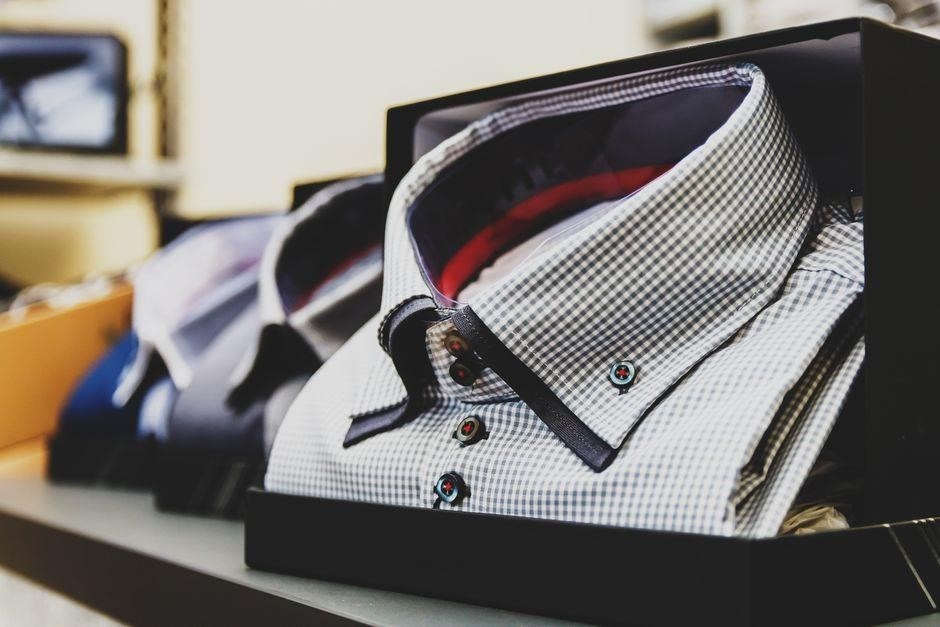
Collar style influences neck sizing. Spread collars need a slightly larger neck for a relaxed look, while point collars fit comfortably at the standard size. Button‑down collars sit best on a medium neck; too small may pinch, too large can look loose. Adjust carefully; try on to ensure collar sits.!
Spread, Point, and Button-Down Collars and Their Fit Considerations
Choosing the right collar type is essential for a polished look. Spread collars, with a wide gap between the collar points, demand a slightly larger neck measurement to avoid a tight, constricting feel. They pair well with larger tie knots and a relaxed silhouette. Point collars, the classic narrow style, fit best on a standard neck size; they create a streamlined profile suitable for formal settings; Button‑down collars, featuring small buttons that secure the collar points, work best on a medium neck. If the collar is too small, the buttons can pinch the skin; if too large, the collar will appear loose and unstructured. Always try on the shirt with a tie to see how the collar sits against the neck and shoulders. Adjusting the collar width by selecting the appropriate size ensures comfort and style across all occasions.
When selecting a shirt, consider the occasion and your personal comfort. A spread collar offers a modern, business‑friendly appearance, especially when paired with a wide tie knot. Point collars are timeless and versatile, suitable for both formal and semi‑formal events. Button‑down collars provide a relaxed, polished look and are ideal for business casual settings. Pay attention to the collar’s fit: a collar that sits too low can look sloppy, while one that’s too high may feel restrictive. Adjusting the collar width by choosing a slightly larger or smaller neck size can resolve most fit issues. Additionally, the sleeve length should be measured from the shoulder seam to the cuff; a few millimeters can make a significant difference in comfort and aesthetics. Always try on the shirt with the intended tie and shoes to ensure a cohesive look. If you’re unsure, consult the brand’s size chart or speak with a knowledgeable sales associate for personalized advice. Remember that many brands offer a 1‑inch collar adjustment option, allowing you to fine‑tune the fit without a full size change. This tweak can make a difference. Enjoy!
Common Sizing Issues and How to Resolve Them
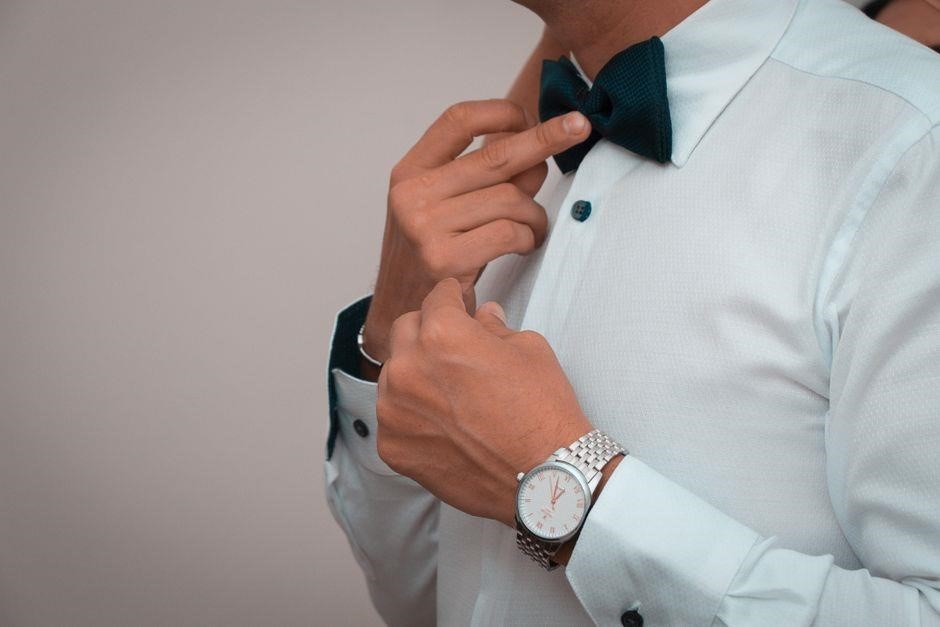
Short sleeves? Try a longer length or a slim fit. Tight chest? Opt for a larger chest measurement or a relaxed cut. Loose waist? Choose a slimmer waist or add a belt. Always measure neck, chest, sleeve, and waist accurately before ordering. If adjustments fail, try a tailored fit or an adjustable collar comfort.!
Short Sleeves, Tight Chest, and Loose Waist Solutions
Short sleeves can be a common problem, especially for taller men or those with longer arms. The most effective fix is to choose a shirt with a longer sleeve length or a slim‑fit style that naturally offers more arm room. If you still find the sleeves too short, consider a custom alteration: a tailor can add a few inches to the cuff length without affecting the overall look.
Tight chest can make a shirt feel restrictive and uncomfortable. The best remedy is to select a larger chest measurement or a relaxed‑cut style that offers extra room. If you prefer the same cut, a tailor can add ease by altering the side seams or widening the chest area. Avoid shirts with a “slim” label unless your chest is truly narrow.
Loose waist can cause a shirt to billow or look baggy. To tighten the waist, choose a slimmer cut or a shirt with a built‑in waist cinch. Alternatively, a tailor can take in the side seams or add a waist panel to create a more fitted silhouette. Adding a belt also helps keep the shirt in place without altering the garment.
When in doubt, try a few sizes in different cuts and compare how each feels. A well‑fitted shirt should allow you to move freely, sit comfortably, and maintain a clean line at the waist. Don’t forget to check the return policy if you’re ordering online, and consider a brand that offers free alterations for a perfect fit.
Stay sharp, sure!!
With the right size, your shirt becomes comfort and joy
Practical Tips for Choosing the Perfect Shirt
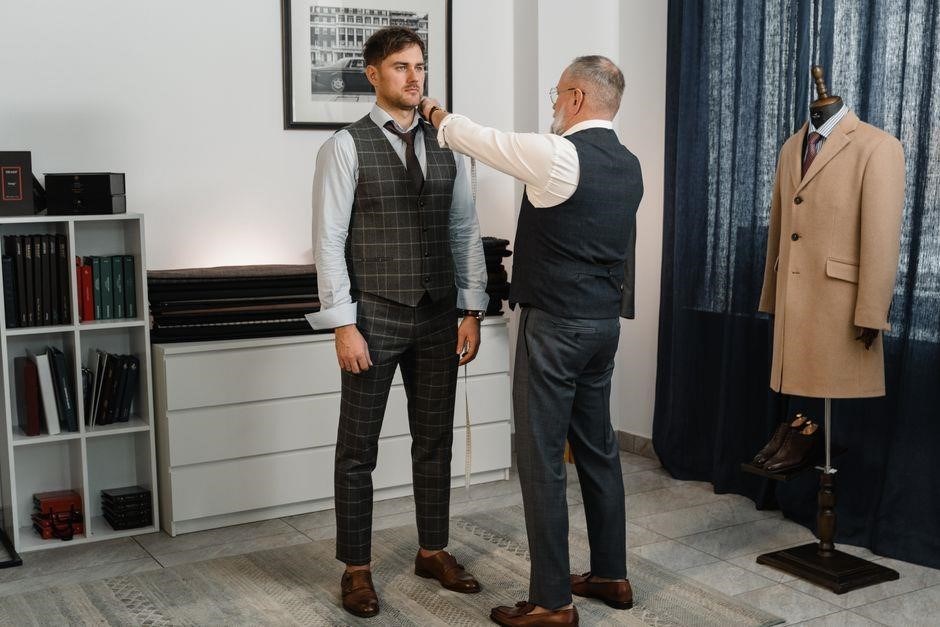
Measure neck, chest, sleeve, and waist with a flexible tape. Compare to brand charts, noting collar size and sleeve length. Try on in daylight, check shoulder seams, and ensure sleeves end at wrist. If unsure, order two sizes and return the wrong one. Check the fit at the shoulders drapes over the chest. Fit snugly.
Using Size Charts, Trying On, and Customization Options
Start by measuring your neck, chest, sleeve, and waist with a tape. Convert the numbers to inches if your chart uses centimeters. Compare the dimensions to the brand’s size chart, paying special attention to collar width and sleeve length. Many retailers list sizes as “Neck × Sleeve” (e.g., 15 × 32). If your neck is 15.5 inches, round up to 16; if your sleeve is 31.5 inches, round up to 32. This ensures the shirt won’t feel too tight or too loose.
When you order online, most sites recommend a size. If the recommendation is between two sizes, choose the larger one for a relaxed fit or the smaller one for a tailored look. Some stores offer a “Fit Guide” that shows how a particular size sits on different body types.
Once you receive the shirt, try it on in natural light. Check the shoulder seams: they should line up with the edge of your shoulder. The collar should sit snugly without pinching, and the cuffs should end at the wrist, leaving a small gap for a cufflink or a watch.

Many brands provide customization options: you can adjust sleeve length, collar width, or choose a different fabric. Some online tailors let you upload a photo for a virtual fitting. If you’re unsure, try a store’s return policy; many offer free returns or exchanges within a set period.
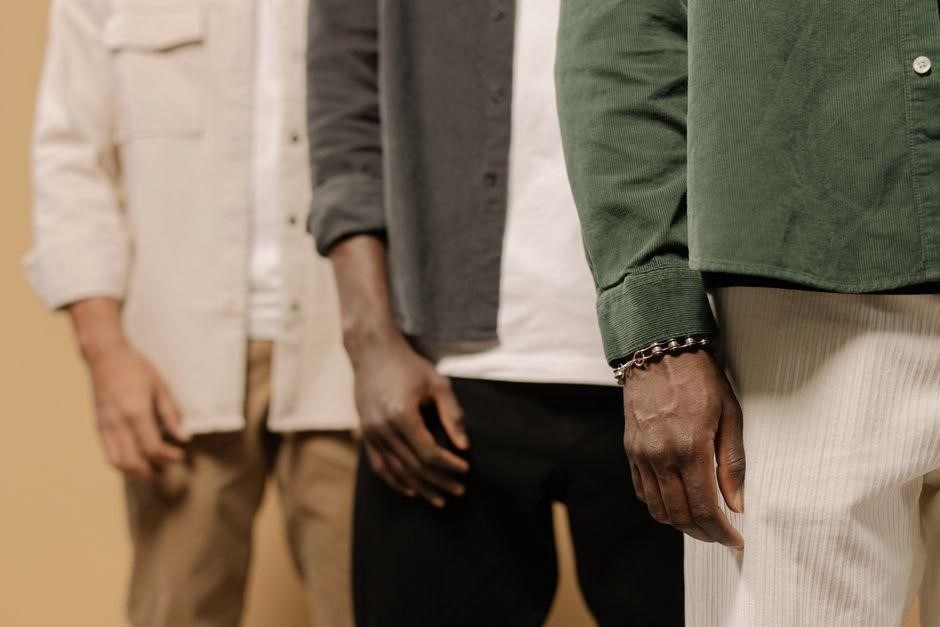
Finally, remember that a well‑fitted shirt is about balance. A slightly looser chest with a snug collar often looks more polished. Use the size chart as a guide, but trust your comfort and the visual cues from a fitting. With these steps, you’ll find a shirt that fits perfectly and reflects your style Enjoy your new look