
The Pro T705 Thermostat is a Wi-Fi-enabled, programmable thermostat designed for single-stage HVAC systems. It offers 7-day or 5/1/1 scheduling and features a 5-year warranty. Ideal for DIY installation, it integrates seamlessly with smart home systems, providing energy-efficient temperature control and remote monitoring capabilities.
1.1 Overview of the Pro T705 Thermostat
The Pro T705 Thermostat, developed by Pro1 Technologies, is a Wi-Fi-enabled, programmable thermostat designed for single-stage HVAC systems. It offers a user-friendly interface, 7-day or 5/1/1 scheduling, and seamless integration with smart home systems. This thermostat is ideal for both DIY enthusiasts and professional installers, featuring a 5-year limited warranty. Its compact design and energy-saving capabilities make it a versatile solution for modern heating and cooling needs. The T705 supports remote monitoring and is compatible with most standard HVAC systems, ensuring efficient temperature control and enhanced convenience for homeowners.
1.2 Key Features and Benefits
The Pro T705 Thermostat offers a range of features, including Wi-Fi connectivity for smart home integration and remote access. Its programmable scheduling allows for 7-day or 5/1/1 configurations, optimizing energy use. The thermostat supports single-stage HVAC systems and is backed by a 5-year limited warranty. Installation is streamlined with a technician setup menu, and the device operates on AA batteries. Its compact design and intuitive interface enhance user experience, while energy-saving modes help reduce utility bills. These features make the T705 a practical and efficient choice for modern home climate control.
System Requirements and Compatibility
The Pro T705 Thermostat is compatible with single-stage HVAC systems, requiring 18-22 gauge thermostat wire. It supports shielded or non-shielded wiring configurations for flexible installation.
2.1 Compatibility with HVAC Systems
The Pro T705 Thermostat is designed to work seamlessly with single-stage HVAC systems, supporting both heating and cooling modes; It is compatible with systems that require 1 heat and 1 cool stage, making it suitable for most standard home setups. The thermostat’s wiring requirements include 18-22 gauge wires, which are common in residential installations. Additionally, it can be connected to either shielded or non-shielded wires, ensuring flexibility during installation. This compatibility ensures that the Pro T705 can be integrated into various HVAC configurations without major modifications, providing reliable temperature control for optimal comfort.
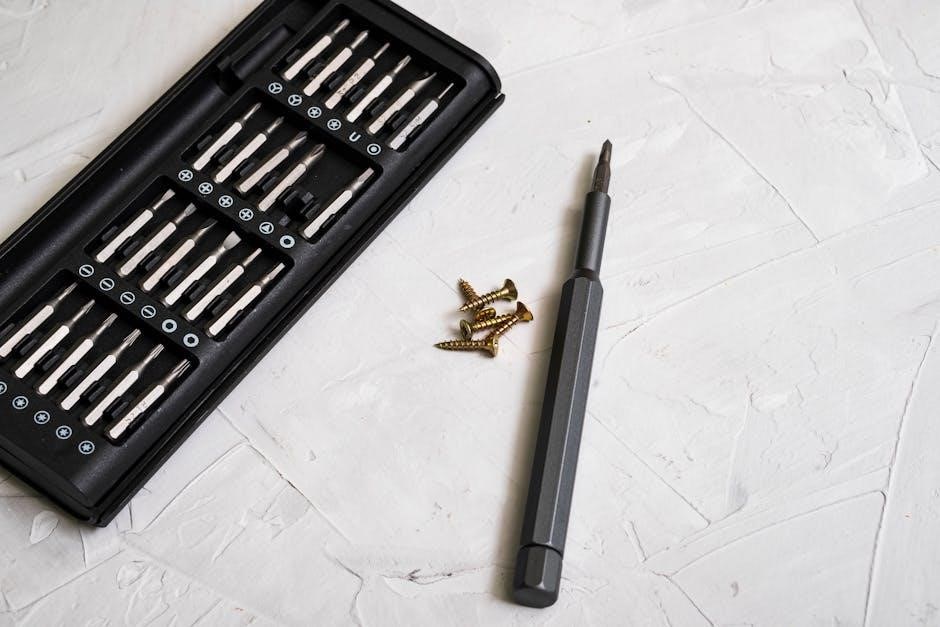
2.2 Necessary Tools and Materials
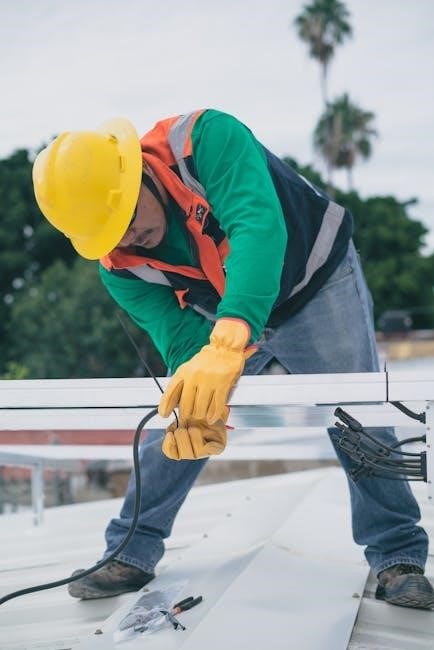
To install the Pro T705 Thermostat, you will need a few essential tools and materials. A screwdriver (both Phillips and flathead) is required for removing the old thermostat and mounting the new one. Wire strippers may be necessary if you need to connect or adjust the wiring. A voltage tester is recommended to ensure the power is off before starting. Additionally, 18-22 gauge thermostat wire is needed for connections. Mounting hardware, such as screws and wall anchors, is typically provided with the thermostat. Ensure all materials are compatible with your HVAC system for a smooth installation process.
Pre-Installation Steps
Preparing the installation site involves removing the old thermostat, ensuring the area is clear, and selecting a location 4-5 feet above the floor with good air circulation.
3.1 Preparing the Installation Site
Before installing the Pro T705 Thermostat, ensure the installation site is clear of obstructions. Choose a location 4 to 5 feet above the floor to ensure accurate temperature readings. The area should have good air circulation and avoid direct sunlight, drafts, or extreme temperatures. Turn off the HVAC system at the circuit breaker to prevent any accidental start-ups during installation. Remove any furniture or items that could interfere with the thermostat’s placement or wiring. This preparation ensures a smooth and safe installation process.
3.2 Removing the Old Thermostat
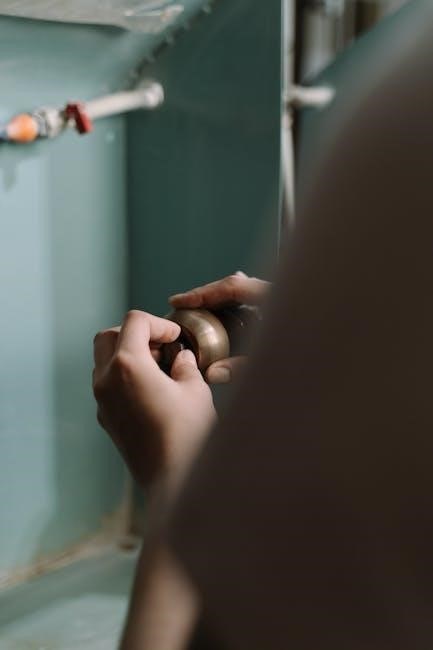
Begin by turning off the HVAC system at the circuit breaker to ensure safety. Gently pull the old thermostat away from the wall to access the wiring. Carefully disconnect the wires from their terminals, noting their configurations for later reference. Remove any screws holding the thermostat in place and set the unit aside. If the thermostat uses batteries, remove them to prevent any accidental power issues during the replacement process. Ensure all wires are free from the old unit and prepare the area for the new thermostat installation. This step is crucial for a smooth transition to the Pro T705.
Installation Process
The Pro T705 installation involves mounting the thermostat, connecting wires according to specifications, and ensuring proper setup for optimal functionality and smart home integration.
4.1 Wiring Specifications and Terminal Designations
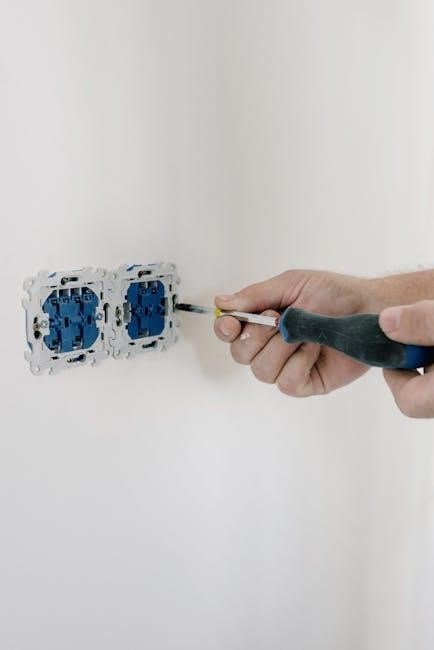
The Pro T705 Thermostat requires 18-22 gauge thermostat wire, either shielded or non-shielded. Terminal designations include R (24V), W (heat), Y (cool), G (fan), and C (common). Ensure wires match the terminal labels from your HVAC system. Use the provided wiring diagram for accurate connections. Avoid crossing wires to prevent short circuits. If replacing an old thermostat, verify compatibility of existing wires with the T705 terminals. Proper wiring ensures reliable operation and prevents damage to the system. Always turn off power before starting the installation process.
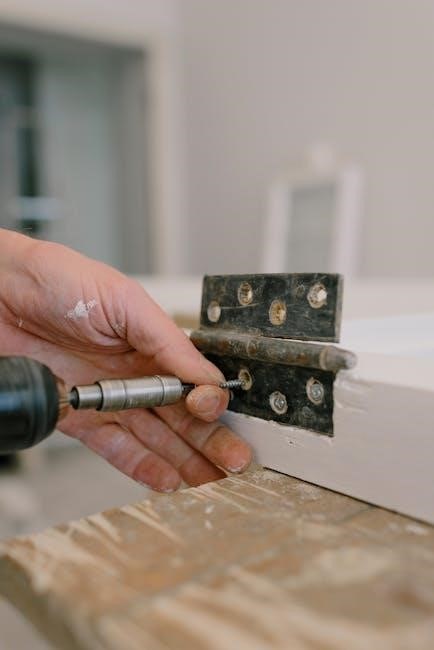
4.2 Mounting the Thermostat
Mount the Pro T705 Thermostat approximately 4-5 feet above the floor in an area with average temperature and good air circulation. Avoid installing near drafts, direct sunlight, or extreme temperatures. Use the provided wall anchors and screws to secure the base plate to the wall. Ensure the base is level for proper operation. If replacing an old thermostat, remove any leftover adhesive or debris for a clean installation. Gently snap the thermostat onto the base plate until it clicks securely. Proper mounting ensures accurate temperature readings and optimal performance of the thermostat.
4.3 Connecting the Wires
Connect the wires to the Pro T705 Thermostat by matching each wire to the correct terminal designation. Use 18-22 gauge thermostat wire, either shielded or non-shielded. Refer to the terminal labels (R, W, Y, G, C, etc.) to ensure proper connections. If replacing an old thermostat, note the existing wire configuration before disconnecting. Securely attach each wire to the corresponding terminal on the new thermostat. After wiring, turn the power back on and test the system to ensure all functions operate correctly. Proper wiring ensures safe and efficient operation of your HVAC system.
4.4 Final Connections and Setup
After wiring, install the batteries (AA) in the thermostat. Ensure the device is mounted securely on the wall. Power on the system and verify all connections are correct. Access the technician menu for final setup, configuring settings like heat/cool modes and circulation fan options. Avoid altering the TECH SET key unless instructed by a professional. Test the system to ensure proper operation. Complete the setup by programming your preferred schedule and temperature settings. Finally, register your warranty within 60 days of installation for coverage.
Post-Installation Configuration
Complete initial setup by configuring temperature settings and scheduling options. Access the technician menu for advanced settings. Register your thermostat for warranty activation within 60 days.
5.1 Initial Setup and Programming
After installation, power on the thermostat and follow the on-screen prompts to set the time, date, and preferred temperature units. Choose between 7-day or 5/1/1 scheduling modes. Program your desired temperature settings for each day, ensuring energy efficiency. Use the touchscreen interface to navigate through menus and customize options like heat and cool thresholds. Refer to the technician menu for advanced configurations, but only if necessary. Complete the setup by registering your thermostat for warranty activation within 60 days of installation. This ensures full coverage and support for your Pro T705 Thermostat.
5.2 Setting Up the Technician Menu
The technician menu on the Pro T705 Thermostat provides advanced configuration options for installers. Access the menu by pressing and holding the “SET” key for 5 seconds. Here, you can adjust system parameters, wiring configurations, and specialized settings. Use the TECH SET key to navigate through submenus and confirm changes. Avoid altering settings unless instructed by a professional, as incorrect configurations may affect performance. Refer to the installation manual for detailed guidance. Once configured, exit the menu to save settings and ensure proper thermostat operation. This step is crucial for optimizing your HVAC system’s performance and efficiency.
Operating the Thermostat
Select COOL to activate air conditioning or OFF to disable heating and cooling. The battery icon signals when AA batteries need replacement, ensuring uninterrupted operation.
6.1 Understanding the Control Modes
The Pro T705 Thermostat offers multiple control modes, including COOL for air conditioning and OFF to disable both heating and cooling. The COOL mode activates the air conditioning system, while the OFF mode shuts down both heating and cooling operations. Additionally, the thermostat features a battery icon that appears when the AA batteries need replacement, ensuring continuous operation without interruptions. This intuitive system allows users to manage their HVAC settings efficiently, maintaining a comfortable environment while conserving energy.
6.2 Scheduling and Energy-Saving Features
The Pro T705 Thermostat supports 7-day or 5/1/1 scheduling, allowing users to customize temperature settings for different days or periods. Its smart recovery feature ensures the system reaches the desired temperature before the scheduled time. Energy-saving modes optimize heating and cooling usage, while maintenance reminders help maintain efficiency. The thermostat also offers remote adjustments via Wi-Fi, enabling users to modify settings from their smartphone. These features collectively enhance comfort and reduce energy consumption, making it an ideal choice for modern smart home systems.
Maintenance and Troubleshooting
Regularly replace AA batteries when the battery icon appears. Check wiring connections for looseness and ensure proper terminal designations. Use the technician menu for advanced troubleshooting solutions.
7.1 Replacing Batteries
To replace the batteries in your Pro T705 Thermostat, first ensure the system is turned off. Open the battery door located on the front or bottom of the thermostat. Gently remove the old AA batteries and insert the new ones, making sure to align the positive and negative terminals correctly. Close the battery door securely. If the battery icon persists, check the connections or consult the installation manual. This simple maintenance ensures continuous operation and optimal performance of your thermostat.
7.2 Common Issues and Solutions
Common issues with the Pro T705 Thermostat include display not turning on, incorrect temperature readings, or unresponsiveness. Ensure proper wiring connections and battery installation. If the display remains off, check circuit power. For temperature inaccuracies, recalibrate the sensor or adjust the mounting location. Connectivity issues can be resolved by restarting the thermostat or checking Wi-Fi settings. Refer to the installation manual for troubleshooting steps or contact customer support for further assistance. Regular maintenance and updates help prevent these issues and ensure optimal performance.
Advanced Features
The Pro T705 Thermostat offers advanced features like Wi-Fi connectivity, smart home integration, and remote monitoring. It supports geofencing and voice control via smart devices, optimizing energy use.
8.1 Wi-Fi Connectivity and Smart Home Integration
The Pro T705 Thermostat features built-in Wi-Fi connectivity, enabling seamless integration with smart home systems. Users can control the thermostat remotely using smartphones or voice assistants like Amazon Alexa. It supports geofencing, learning your schedule to optimize heating and cooling. The thermostat also integrates with other smart devices, enhancing home automation. This feature allows for energy-saving adjustments and real-time monitoring, ensuring comfort and efficiency. Compatibility with major smart home platforms makes it a versatile choice for modern HVAC systems.
8.2 Remote Access and Monitoring
The Pro T705 Thermostat offers remote access and monitoring through its mobile app, allowing users to adjust settings, monitor temperature, and receive system notifications. Geofencing technology automatically adjusts the thermostat based on your location. Customizable alerts notify you of extreme temperature changes or system issues. The thermostat is also accessible via a web portal, ensuring control from any device. Remote monitoring enhances energy efficiency and provides peace of mind, especially for homeowners who want to manage their HVAC system on the go. This feature is a key advantage of the Pro T705’s smart capabilities.
Warranty and Support
The Pro T705 Thermostat is backed by a 5-year limited warranty. For warranty-related issues, contact the HVAC professional who installed your thermostat or visit the manufacturer’s website.
9.1 Warranty Registration and Terms
The Pro T705 Thermostat is covered by a 5-year limited warranty, ensuring protection against defects in materials and workmanship. Registration is required within 60 days of installation to activate the warranty. The warranty applies to the original purchaser and is non-transferable. Proper installation by a licensed HVAC professional is mandatory for warranty validity. For detailed terms and conditions, refer to the warranty section in the installation manual or visit the manufacturer’s website. Keep the proof of purchase and installation records for warranty claims. Any unauthorized modifications or tampering will void the warranty.
9.2 Contacting Customer Support
For assistance with the Pro T705 Thermostat, contact Pro1 Technologies’ customer support team. Reach them via phone at 888-776-1427 or visit their website at www.pro1iaq.com for additional resources. Email inquiries can be directed to their support team for troubleshooting or warranty-related questions. The office is located at 1111 S. Glenstone Ave., Suite 2-100, Springfield, MO 65804. Support hours are available to address installation, operation, or technical issues. Ensure to have your thermostat model number, installation date, and warranty registration details ready for efficient assistance.